We are thrilled to announce a newrelease. Data for employees can be easily imported into the Brainy HR system now.
Import supports the following operations:
- Add/Update
- Delete
The maximum size of the import file is 1MB.
Special characters can cause problems during data transfer.
When importing employees' data, new data is added to existing data entries in the database. All existing employee's data will be replaced with the imported new data. All existing data will be completely cleared and all references in the system will be lost.
1. Prepare the Data
On theleftsidebar, go toTools>Import Employees.
ClickDownload Sample File.
Open Download Sample File.

The sample file includes column headings with dummy data.
Check the structure of the sample file and use it to prepare your CSV import file, making sure that the column headings are the same.
first_name - your employee first name (required)
last_name - your employee last name (required)
email - employee's e-mail. Make sure to use real emails. It will be used to reset the password, sent an invite, etc. (required)
birth_day - 2000-10-03 format (required)
alternative_email - additional email (optional)
phone - office phone number (optional)
ext - external number (optional)
mobile_phone - mobile phone (optional)
gender - f/m (f=Female, m=Male) (required)
marital_status - single/married (required)
hire_day - 2000-10-03 format (required)
position - position - data option from your system settings (optional)
office - office - data option from your system settings (optional)
department - department - data option from your system settings (optional)
employment_status - employment status - data option from your system settings (optional)
manager - add an employee's direct manager's email (optional). Note: if you add an e-mail, this manager's account should already be in the system. Or skip it for now. You can update this field in the customer's account later.
send_invite - leave it empty if you don't want to send an invite to the Brainy HR system. Add 0 or 1 if you want to send the employee a welcome (registration) email to the (optional)
Make sure your file isn't more than 1M.
2. Choose Import Behavior
SetImport Behaviorto one of the following:
- Add/Update (New employee data is added to the existing employee data for the existing entries in the database.)
- Delete (Any entities in the import data that already exist in the database are deleted from the system. The email data is enough for deleting behavior)
Accept the value of a comma (,) for the Field separator. (The comma is the default separator in a CSV file)
3. Select File to Import
ClickBrowse Fileto select the prepared file to import.
*File must be saved in UTF-8 encoding for proper import.
4. Validate Data
In the bottom-right corner, click onthe Validate button.
Wait a few seconds/minutes for the validation process to complete.
If the import data is valid, the following message appears: CSV file is valid. Please start import process.
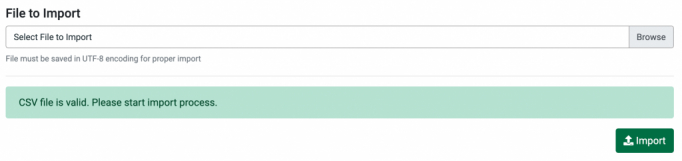
If the file is valid, clickImport.
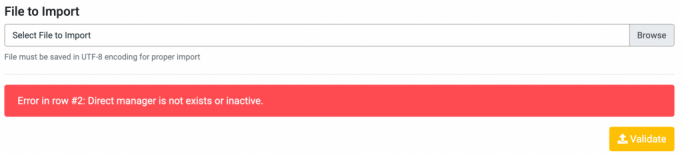
If an error message appears, correct the problem in the data that is listed in the message and import the file again.
The success message appears when the import is complete.
 Posted on Mar 16, 2020 by Nataliia